Ultrasonic Brass Cleaner for Once-Fired Shell Casings
|
Get Expert Advice Save time. Let us help you
find the perfect cleaning system for your needs and budget. 973-821-3406 | Chat | Email |
Firing ranges operated by sporting clubs, law enforcement agencies and military facilities generate tremendous quantities of spent brass shell casings. Substantial savings for these organizations, as well as for private firearm owners, can be realized by employing an ultrasonic brass cleaner for once-fired shell casings.
Many media and methods can be employed as a brass cleaner. Examples include walnut shells and corn cob grit in vibratory tumblers, stainless pins in rotary tumblers and, of course, manual cleaning with various solutions and home-made concoctions.
Faster, more thorough and environmentally cleaning once-fired brass is assured with a specially formulated ultrasonic brass cleaner chemistry in a benchtop ultrasonic cleaner.
Here we describe
- An ultrasonic brass cleaner formula for one-fired shell casings
- Equipment and procedures for ultrasonic cleaning brass shell casings
- A case study on a professional cleaner of once-fired brass
But first….
If you are unfamiliar with ultrasonic cleaning and why it is widely employed to remove contaminants from nearly any product that can be safely wetted in an aqueous cleaning solution, ultrasonic cleaning - an in-depth look will be helpful.
The "Secret Sauce" Brass Cleaner for Once-Fired Shell Casings
We suspect that current and former members of the military are familiar with readying for inspection, spending more time than they would like polishing buckles, buttons, and insignia, and polishing shipboard bells and brass equipment using products such as Brasso®.
Cleaning once-fired brass using Brasso or similar cleaning and polishing media cannot reach and remove contaminants in shell casing interiors. As explained in ultrasonic cleaning - an in-depth look, cleaning action reaches all surfaces immersed in the cleaning solution.
The "Secret Sauce" for cleaning once-fired brass is Elma tec clean A2 ultrasonic cleaning concentrate offered by iUltrasonic.
What makes it especially attractive for ultrasonic cleaning once-fired brass is its ammonia content that brightens brass, copper, bronze and similar non-ferrous metals.
It is also economical. Elma tec clean A2 is a concentrate with a recommend dilution to 5 to 10% with water, which means a little goes a long way as an ultrasonic brass cleaner for shell casings. It is biodegradable, easing disposal concerns after the cleaning solution bath reaches the end of its useful life.
Ultrasonic Equipment Options for Cleaning Once Fired Shell Casings
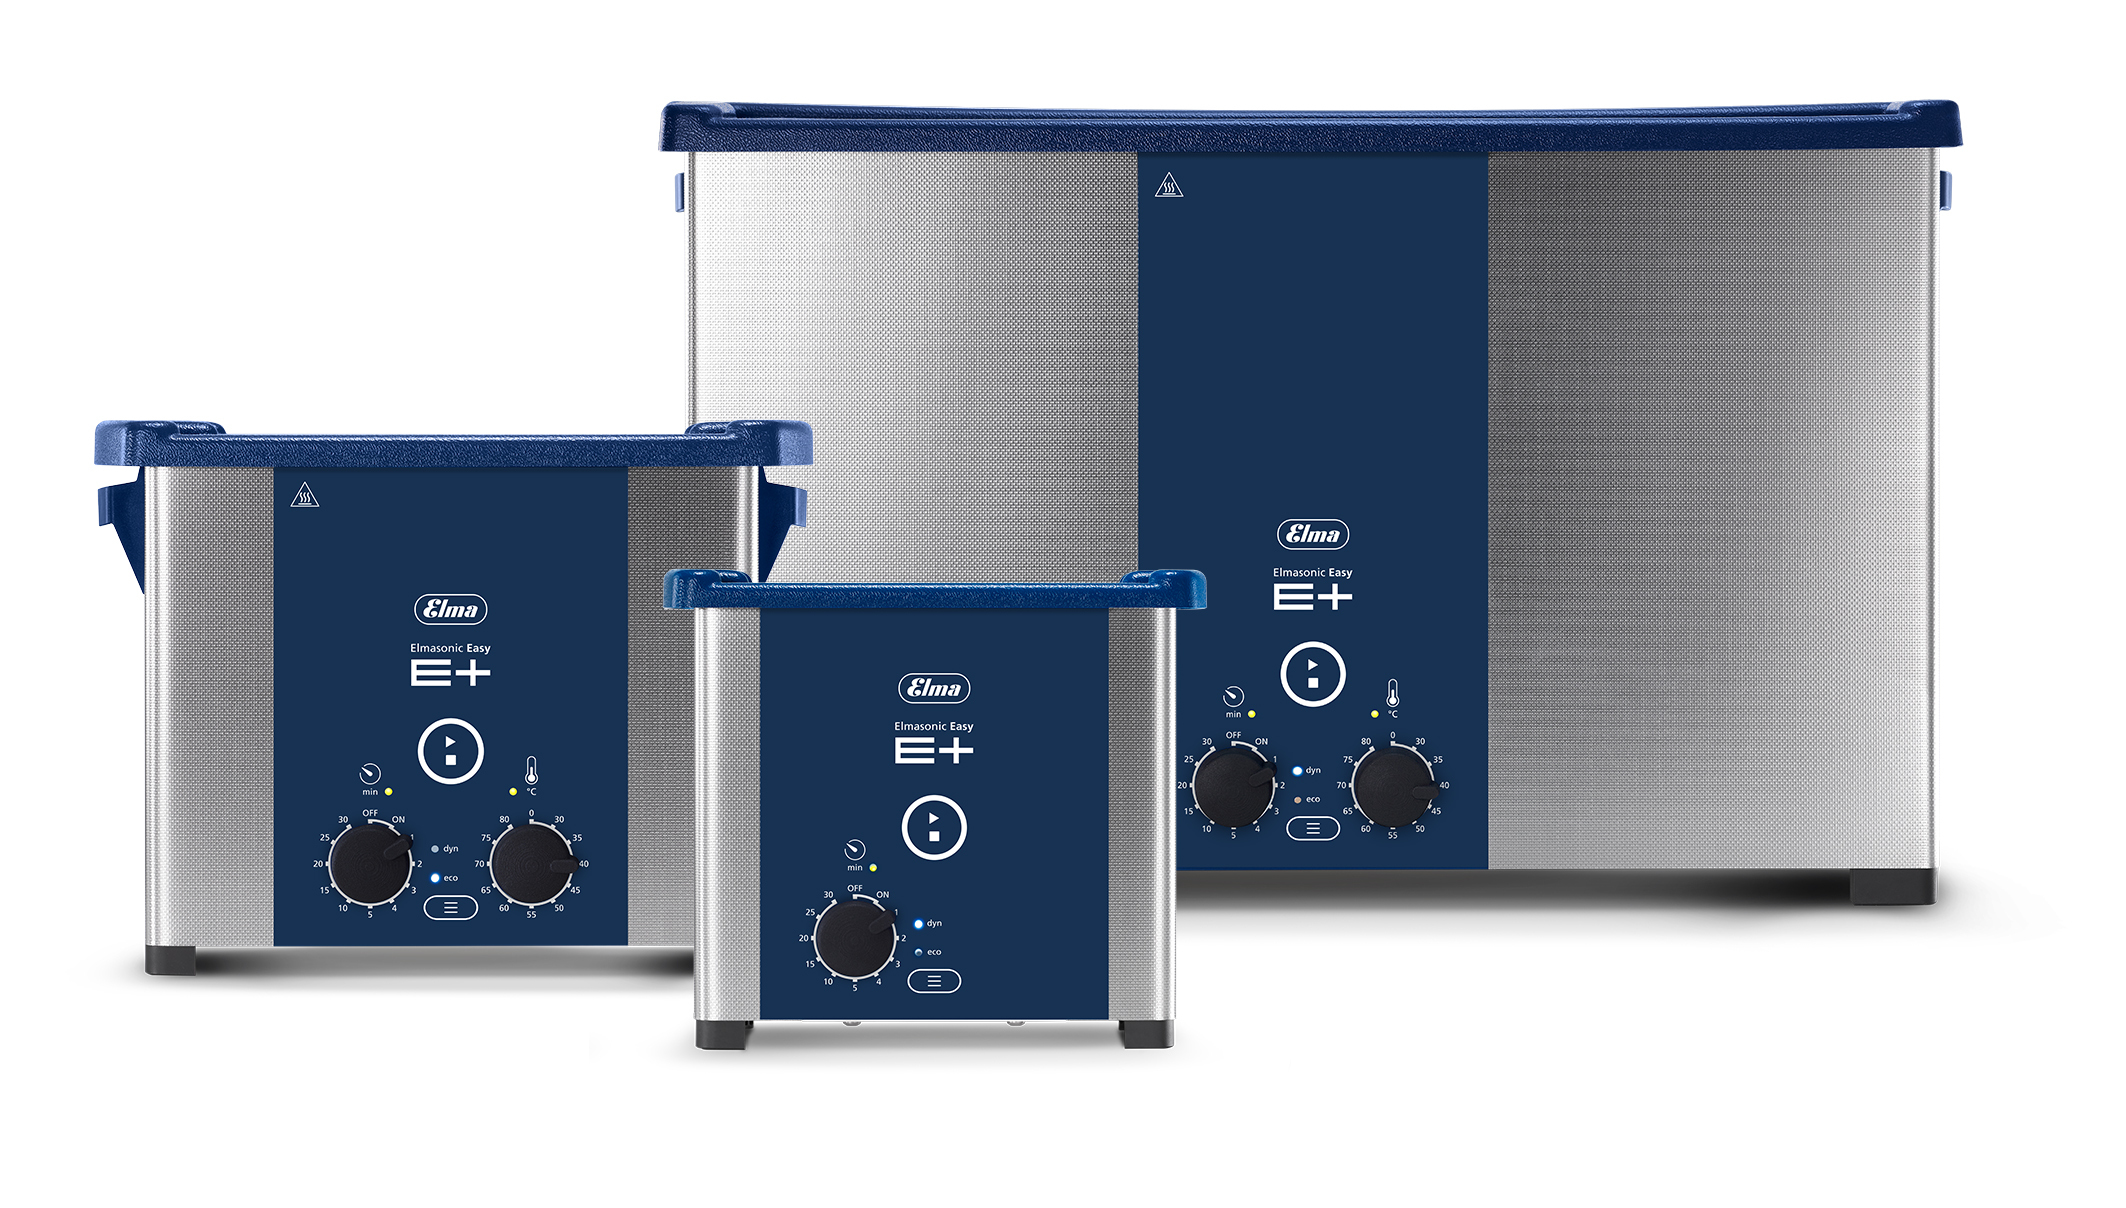
Ultrasonic cleaners such as the Elmasonic E Plus series offered in 11 tank capacities are available from iUltrasonic. The individual hobbyist may select the .75 gallon capacity EP30H. Clubs and ranges may choose higher capacity units up to the 7.5 gallon Elma EP300H.
Cleaning is accomplished by placing decapped shells vertically, projectile end down, in Elma's new modular basket system offered by iUltrasonic. Keep in mind that cleaning is done in baskets, and basket dimensions, provided in the related product section for each size, are smaller than tank dimensions.
The modular basket system permits you to subdivide the basket into several compartments or levels that can accommodate correctly positioned shells of different caliber. Special holders and pins can be used for shell positioning to ensure cleaning action reaches all interior and exterior shell surfaces.
Ultrasonic Brass Cleaning Procedures for Shell Casings
Following are two approaches, the latter a case study. Both contain useful information.
When using the modular basket system with an Elma E Plus ultrasonic cleaner, fill the tank half way with water, add the correct amount of Elma tec clean A2 for a full tank, then and add water to the fill line.
Activate the unit's Dynamic mode to mix and degas the solution and set the temperature dial to the suggested ~35⁰ C. Allow time (depending on the size of your unit) for these parameters to be reached.
When you are ready to clean, lower the basket into the solution, raising it and lowering it a few times to be sure the solution fills the shells. Maintain the Dynamic mode and set the timer for 15 minutes. Place the lid on the tank to reduce noise and evaporation.
The unit will stop at the end of the timed cycle. Remove the basket and place it on the inverted lid to drain.
Inspect the shells. If satisfied rinse them in fresh water to ensure thorough removal of residues from the inside surfaces and allow them to dry. Otherwise repeat or extend the cleaning cycle until results meet your approval.
With experience you’ll perfect your brass shell casing cleaning routine.
A Case Study on Cleaning Brass Shell Casings
The following includes recommendations offered by Seattle resident Subhro Kar, a Product Security Engineer for Red Hat Software and a volunteers search and rescue pilot.
First Steps:
Regardless of the ultrasonic cleaning equipment you use, the process starts with collecting cartridge shells as soon as practical after they have been fired.
Thoroughly examine cartridge shells to insure that they can be reloaded and have consistent tolerance for what is called neck tension. In other words, a reloaded cartridge should be indistinguishable from a brand new cartridge.
Decap the cartridges to remove the spent primer by using a decapping or depriming tool. Decapping is essential to the ultrasonic cleaning process.
Place shell casings on a metal sieve or drain board and wash them with tap water to remove loose dirt.
Inspect casings for cleanliness and condition. Discard those with dents, deformations and cracks. Those that pass inspection are ready for the ultrasonic cleaning cycle.
Shell Casing Cleaning
In this example the Elma Ultrasonic cleaner is used in combination with a beaker kit accessory that properly positions shells for the cleaning cycle.
Kits consist of two beakers, lids, a beaker supporting tank cover that fits over the cleaner, and rubber positioning rings that support the beakers at the proper position in the tank. Two fine-mesh baskets sized to fit in the beakers are used to hold the shells.
The ultrasonic cleaner is filled with tap water. A few drops of rubbing alcohol (or a surfactant such as liquid dishwashing detergent) is added to break surface tension and achieve better propagation of ultrasonic sound waves.
Operate the ultrasonic cleaner in the pulse, dynamic or degas mode (as so equipped) for about 10 minutes to mix the degas the contents.
Cartridge shells are positioned in the mesh baskets with the projectile opening facing down. Because primer caps are removed, the cleaning solution fills the inside of the shell.
Baskets are slid into the beakers that are then filled with pre-diluted Elma tech clean A2 cleaning solution.
Beakers are lowered into the ultrasonic cleaner tank and supported approximately an inch above the tank bottom by the beaker supporting tank cover.
Activating the unit causes ultrasonic energy to penetrate the glass walls of the beakers and clean the shells.
The Post-Cleaning Cycle
Following the ultrasonic wash, casing are rinsed in tap water and thoroughly inspected before being placed in a brass case dryer prior to reloading.
In Conclusion:
We believe you will find sonic cleaning brass shell casings far faster and more satisfactory compared to tumbling them in walnut and corncob media, using polishing media, or soaking in lemon juice.
Contact the iUltrasonic cleaning professionals for further information on ultrasonic brass cleaning for shell casings or for information on ultrasonic gun cleaning systems.


